Client Portal is a web-portal (usually created as a sub-domain of your web-site) where your clients can securely upload their documents to the TaxWorkFlow database. Please contact TaxWorkFlow support team if you want a portal to be created for your company. When the portal is ready and uploaded you need to set it up from TaxWorkFlow. Go to "Administration" >> "Office Settings" and select "Client Portal" tab. Enable portal from here, add a Client Portal URL and select a folder where all the document will be uploaded:
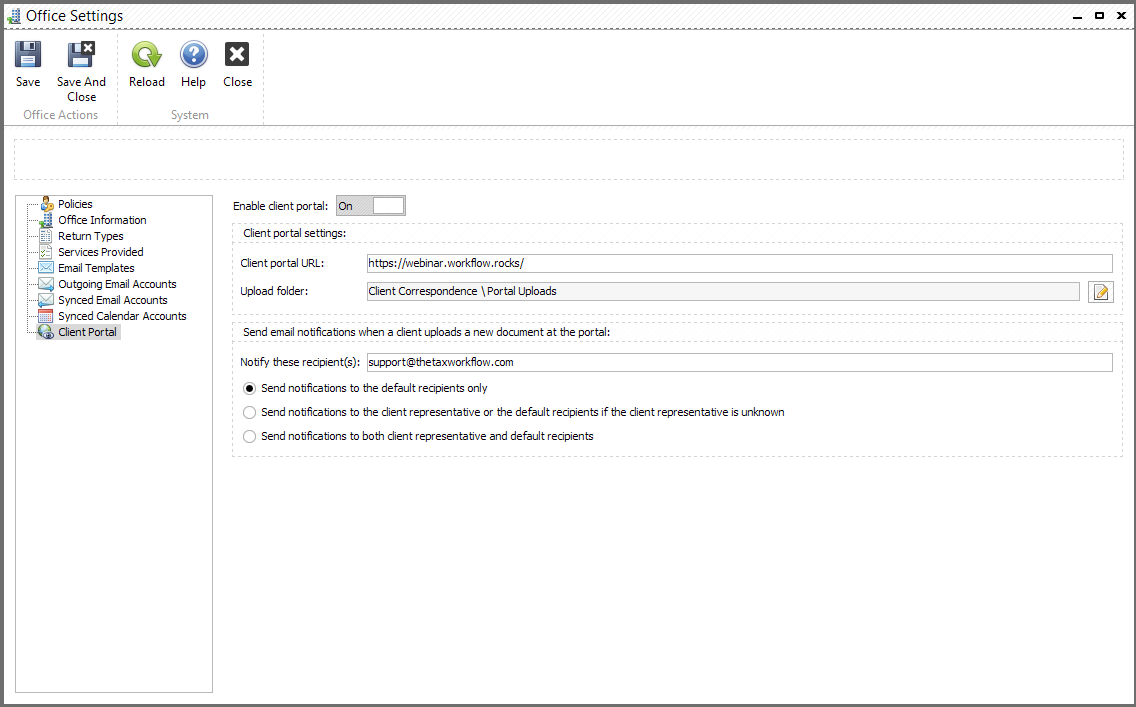
"Notify these recipient(s)" field contains all the default recipients that will receive notifications when client uploads files.
Select "Send notifications to the default recipients only" radio-button if you want only recipients from the list above receive the notifications.
Select "Send notifications to the client representative or the default recipients if the client representative is unknown" radio-button in case you want all the notifications are being sent to client representatives. If there is no client representative the messages will be sent to default emails listed in "Notify these recipient(s)" field.
Select "Send notifications to both client representative and default recipients" in case you want the notifications to be sent to client representatives and to default emails listed in "Notify these recipient(s)" field.
When the setup process is finished click "Save" button.
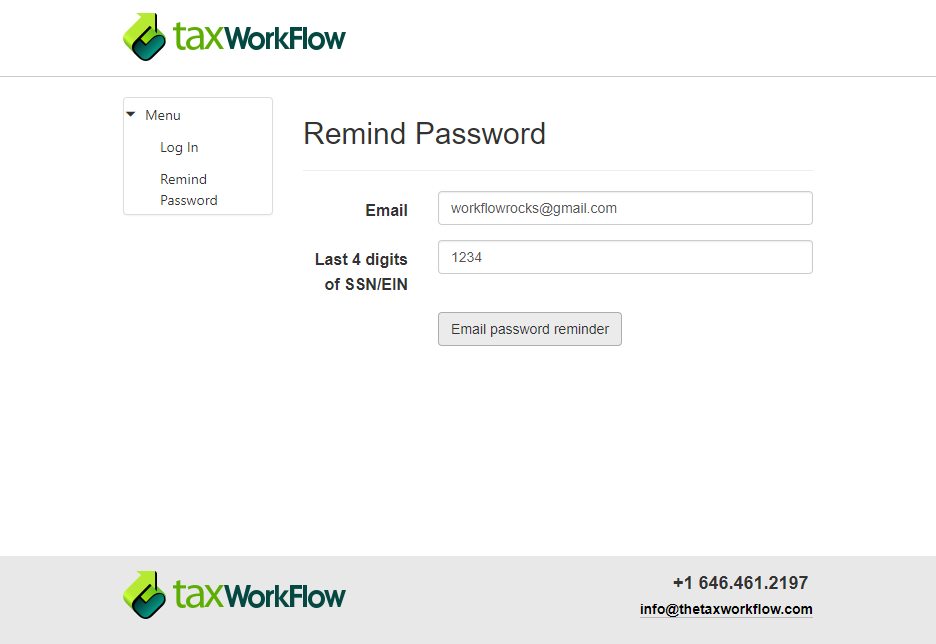
To allow a client to use a portal open his/her profile, select "Client Portal" tab and generate a password for the client. From this tab you can also send a password reminder to the client.

Client can send a password reminder himself from the portal. Below is an example of "Remind Password" form:
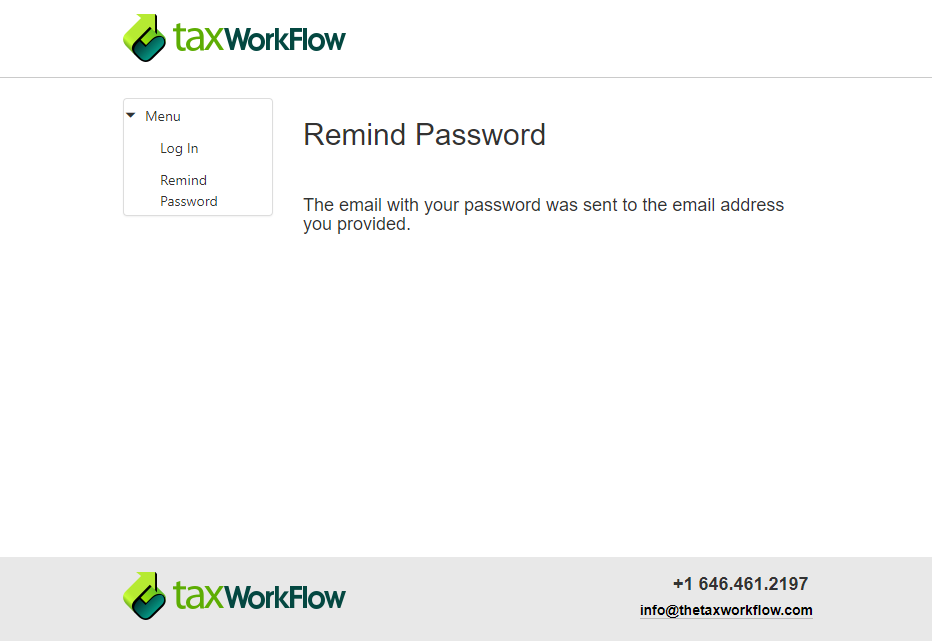
If entered email and last 4 digits of SSN/EIN are correct the email will be sent to client's mailbox and he/she will see the following screen:
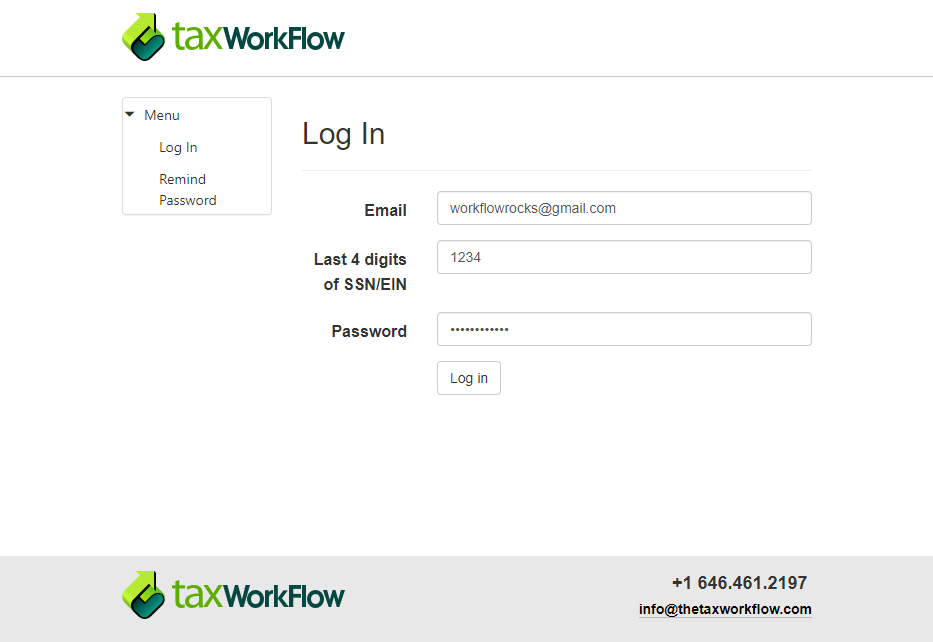
To login to portal client needs to click "Log In" link and fill in necessary fields.
Below is an example of login page:
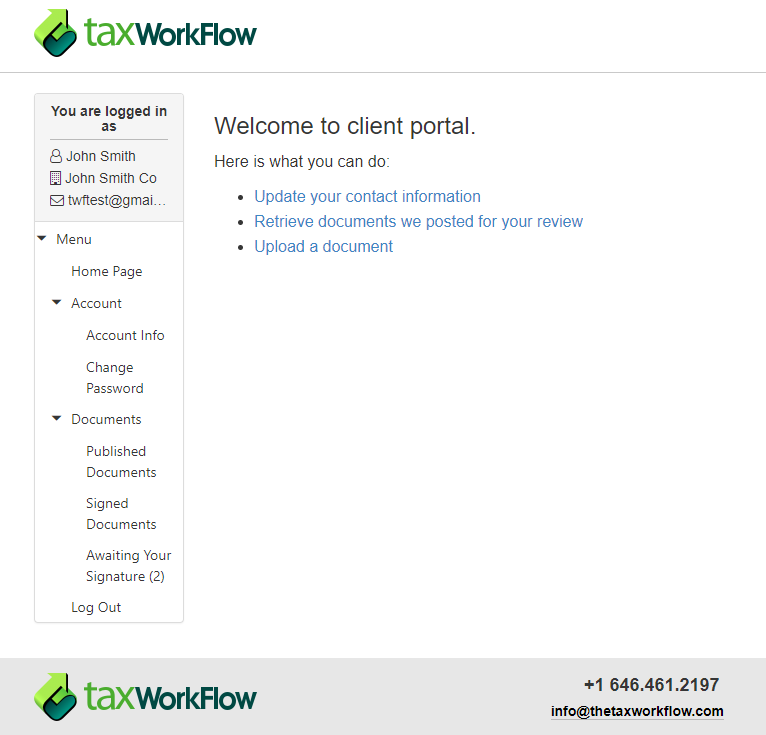
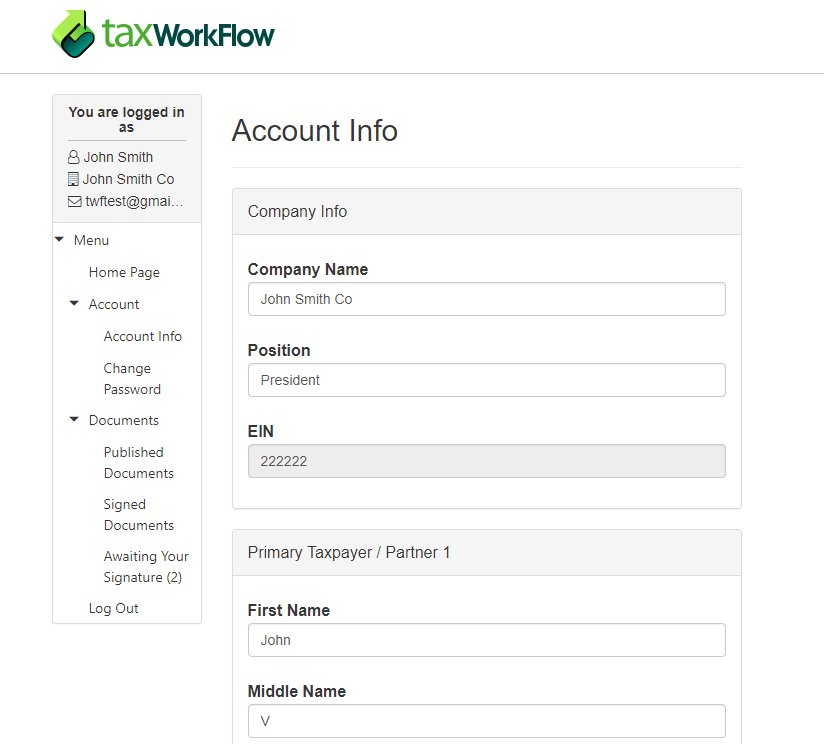
Upon the login client will be redirected to his/her portal home page where available options are listed. From here client can open "Documents" page where documents can be managed or open "Account Info" page to update his/her contact information:
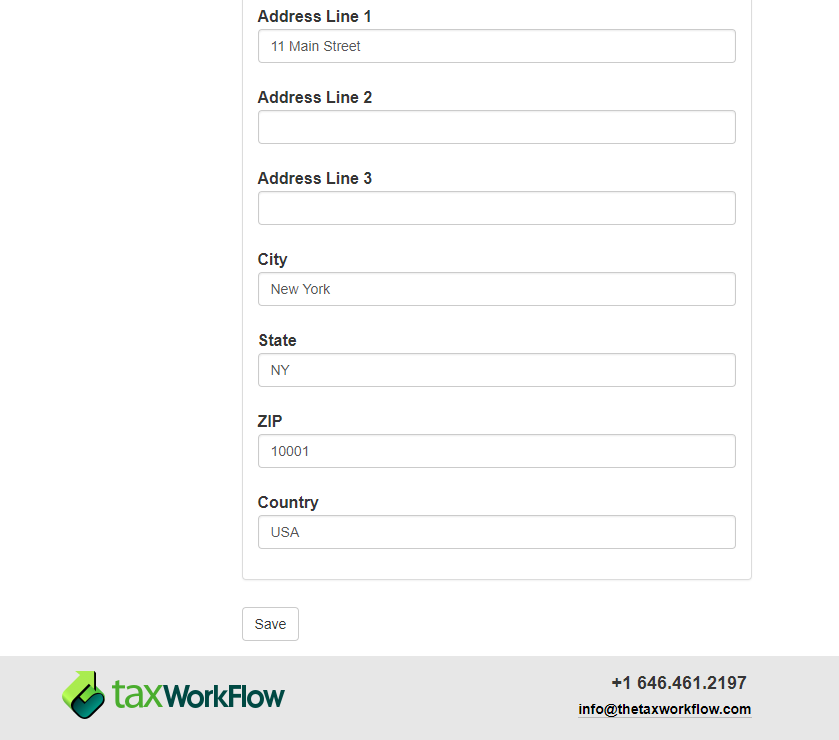
"Account Info" page contains client's information that can be edited by client. To apply changes "Save" button must be clicked.
...
In the "Documents" section you can find the following sub-sections:
•Published Documents
•Signed Documents
•Awaiting Your Signature
"Published Documents" contains all documents published for a client. You can view them by folder or by timestamp. Besides of document title, timestamp and size there is signature status available for each document:
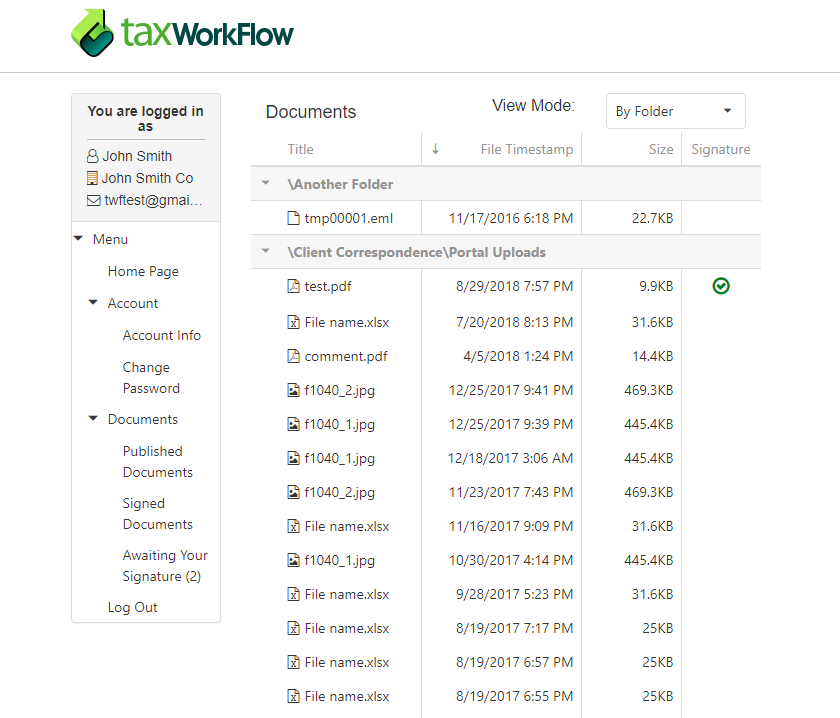
Client can download any file from the list by double-clicking on it except files that were published for signing. These files can be viewed by clicking pencil icon next to their size. To upload a new file the client needs to click "Select file" button at the bottom of the page, select a file and click "Upload file" button:
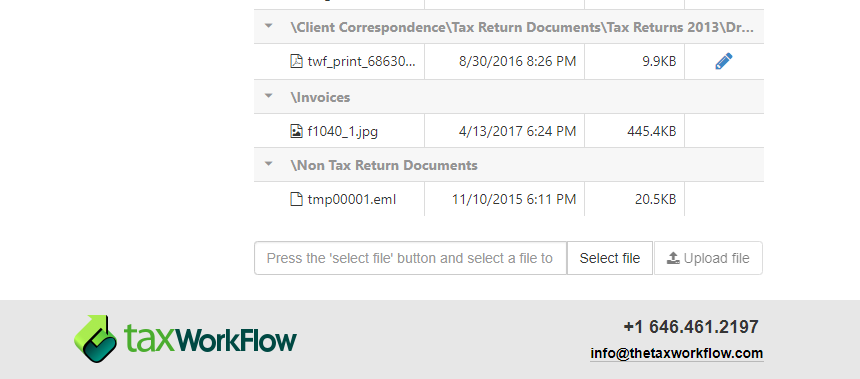
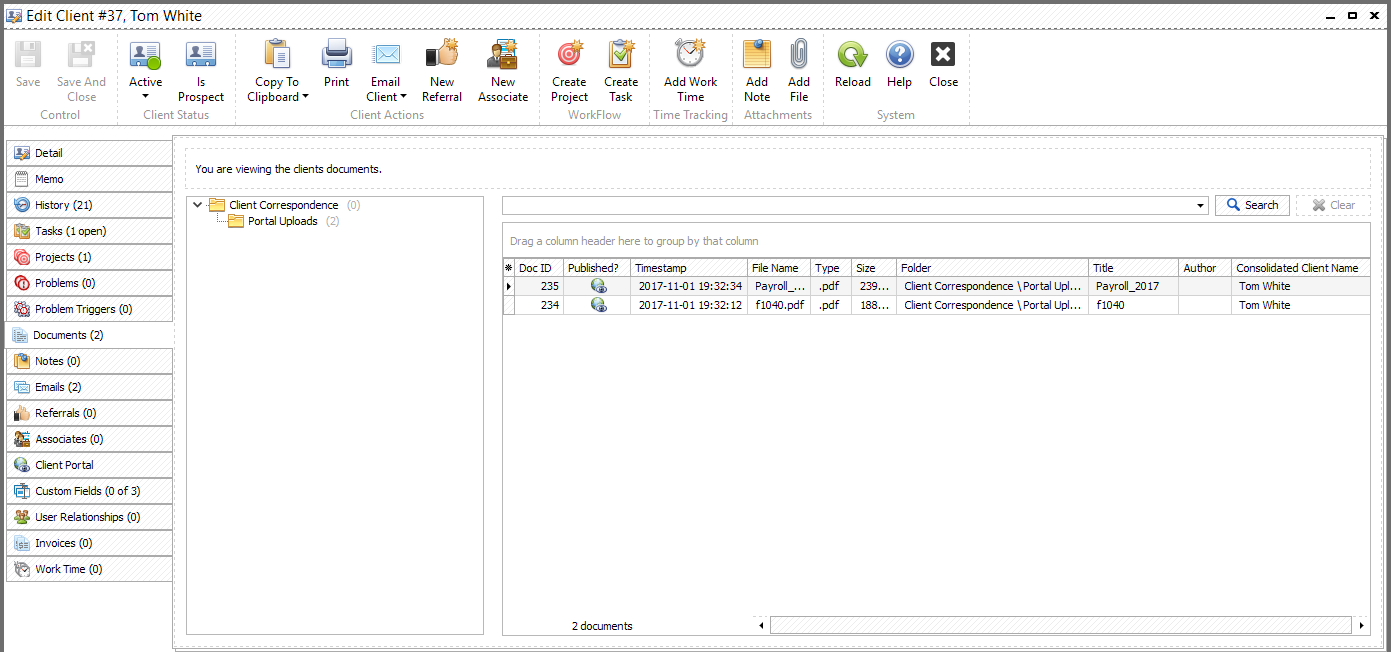
You can find uploaded files in the client's documents tab or in the "View Document" window in a folder that you've setup as "Upload folder".
"Signed documents" sub-section contains the list of signed files:
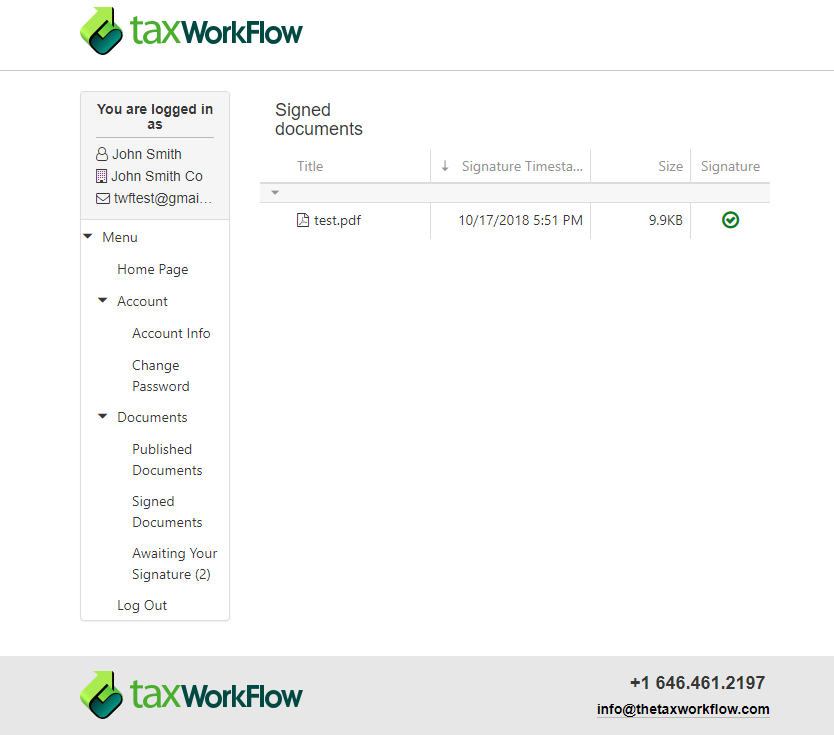
Files from here can also be downloaded by client by double-clicking on it.
"Awaiting Your Signature" sub-section contains all files that were published for signing. Clients can click pencil image to open the document and perform further actions:
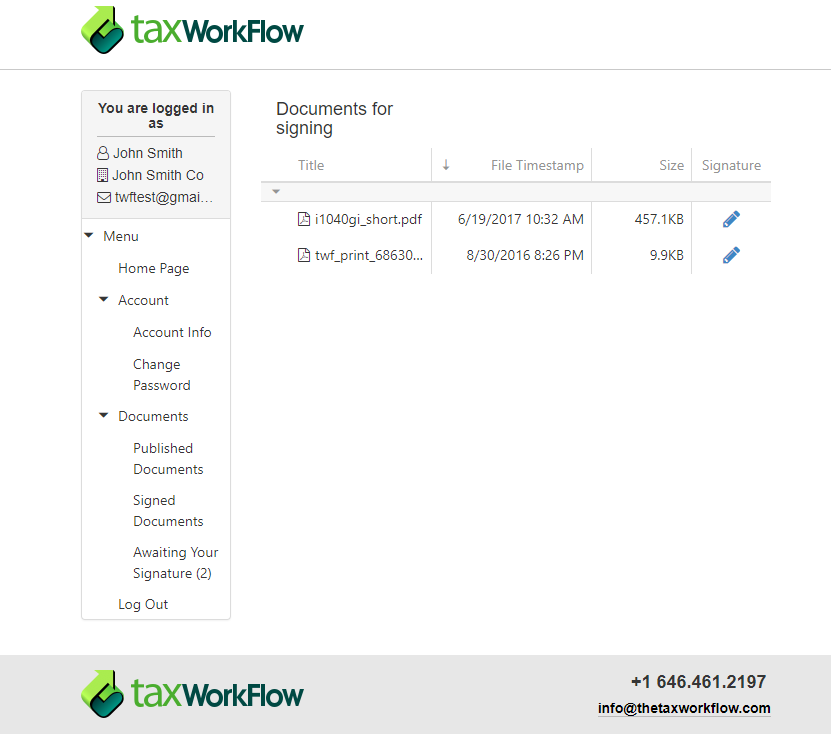
Find more information about signing process in "Signing documents" chapter.