Tables in TaxWorkFlow are very flexible for customizing. You can add, move or remove columns, group data in columns, sort data by any column's content. Let's look at all options separately:
If you wish to add, move or remove some columns of the grid, you can easily do it clicking on the asterisk in the top left corner of the grid. Below is an example of a Tasks grid:

All unchecked columns can be added to the grid, and all checked columns can be removed from it. To move column drag-n-drop it wherever you want inside the grid.
There's another way to manage the columns of the table. Click right mouse button anywhere in the table and select "Customize columns".
The following form appears:
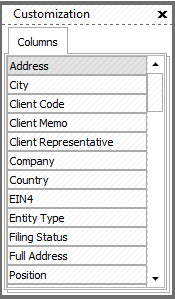
Now you can drag-n-drop columns from this form to the table. You can choose where to put the column and you can also drag-n-drop columns back from the table to this form to remove them.
If you want to filter a visible data of the table click on the key at the right side of the header of the column:

For example, below you can find all possible filters for "Return Type" column. Please, note, you can choose more than one filter parameters for one column and you can also customize a column's filter:
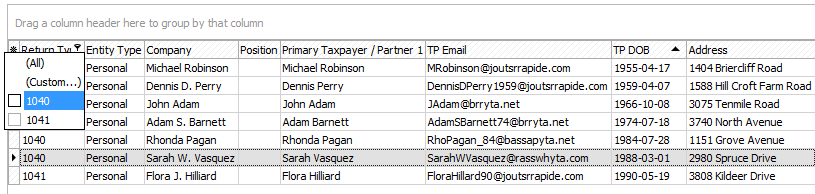
You can use as many filters as many columns you have in the table.
To sort the data by some column's content, please, click you right mouse button on the column's header.
"Fix column width" from the same pop-up menu as "Customize columns" allows you to change columns width automatically by the system for the best view of the table.
You can save table layout from the same menu if you haven't set to save the layout automatically before.
"Collapse all" and "Expand all" options will work upon you group some data in the table. Below you can find the way to do it.
At the top of the table you can notice a space with a following note: "Drag a column header here to group by that column". For example, if you wish to group the data by "Task Owner" simply drag-n-drop the header of this column to the space at the top.

To get back to the previous view drag-n-drop the column header back to other headers.
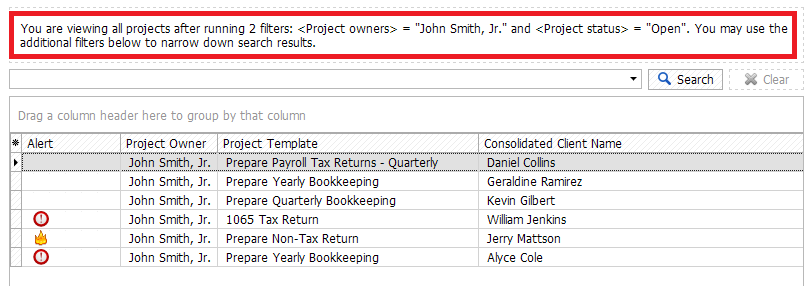
Tip: "You can always see details of grid customization in the info panel above the grid (see image below)."
You can save the view as a report to get a quick access to it later. Read more about reports in "Reports management" chapter.
"Clear table layout" will change table according to default settings.