To track your time working on some task you need to use a group of Time Tracking buttons in the toolbar.
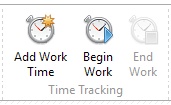
Click "Begin Work" to start time tracking and "End Work" to stop it. You can also add working time manually. Select the task in the grid or open the task by clicking on it and then click "Add Work Time" button.

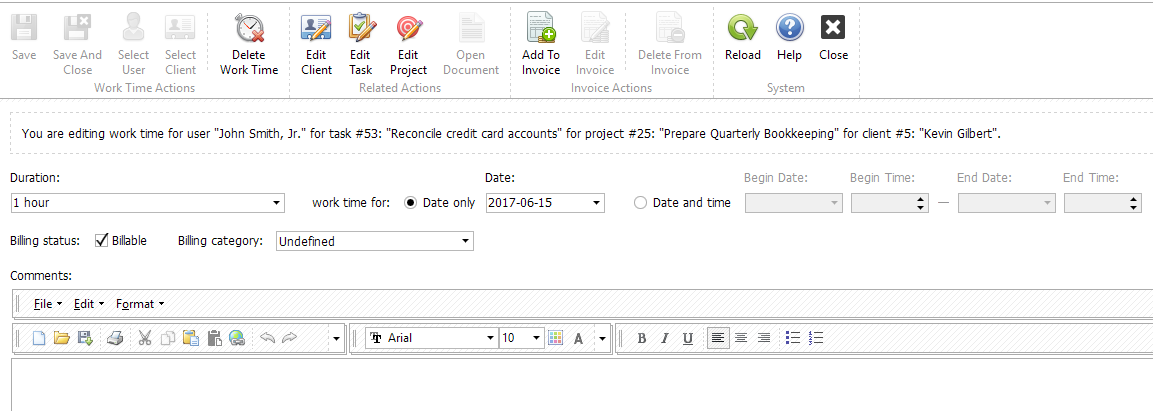
In this window you can select a user for whom you want to enter a work time. You can fill in a duration field or change start and end work time and date. Also you can check a billing status as "Billable". The status must be changed to "Billable" if you add the work time to invoice by clicking an appropriate button on the top of the form. Please note, you need to save the work time by clicking "Save" button to be able to add it to invoice.
Duration field supports different formats of data. Below is a table of symbols that you can enter in this field:
Time period |
Possible symbols |
|||
Year(s) |
y |
year |
years |
|
Month(s) |
m |
month |
months |
|
Week(s) |
w |
week |
weeks |
|
Day(s) |
d |
day |
days |
|
Hour(s) (<24) |
h |
hr |
hour |
hours |
Minute(s) (<60) |
m |
min |
minute |
minutes |
Second(s) (<60) |
s |
sec |
second |
seconds |
Let's look at some examples of how you can enter work time duration:
•1 year 2 months 2 w 4 d 7hr 18 m 50 sec
•8 hour 34 min
•50 m (will be counted as 50 minutes)
Tip: "You can use symbol "m" to enter months and minutes but if "m" occurs just once in the string it will be counted as minutes"
Other formats to enter work time duration are HH:MM (eg 14:20 that would be counted as 14 hours and 20 minutes) and HH.X (eg 9.5 that would be counted as 9 hours and 30 minutes).
Please note, you can't mix formats in one string. For example, 2 days 12.5 won't work.
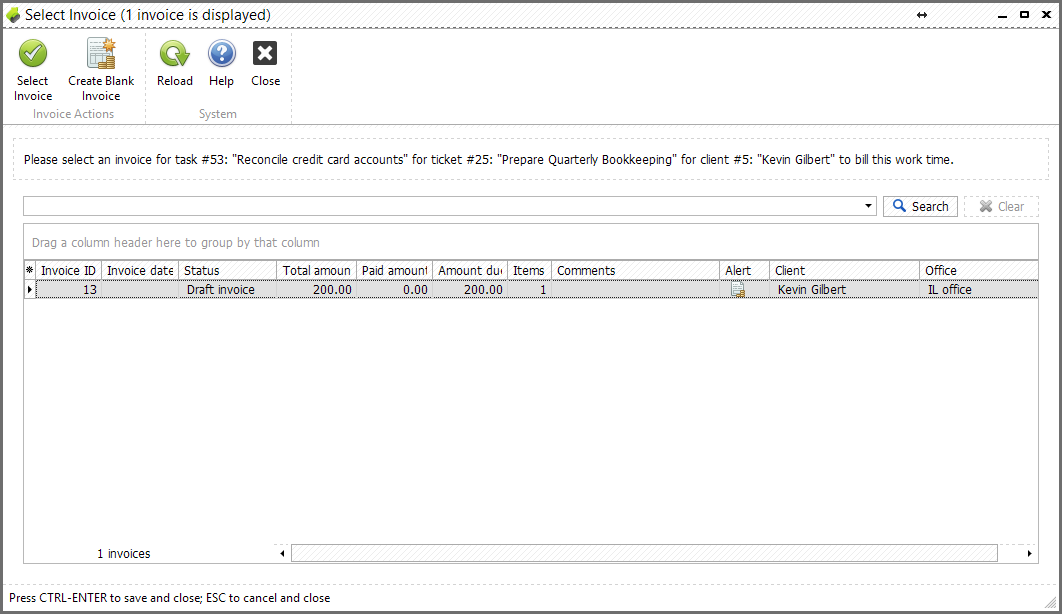
Clicking "Add To Invoice" button will open a "Select Invoice" window. It shows all the invoices related to work time for this client. You can select an existing invoice or create a blank invoice to add a work time to it.
When the invoice is selected you can add a new invoice item to it:
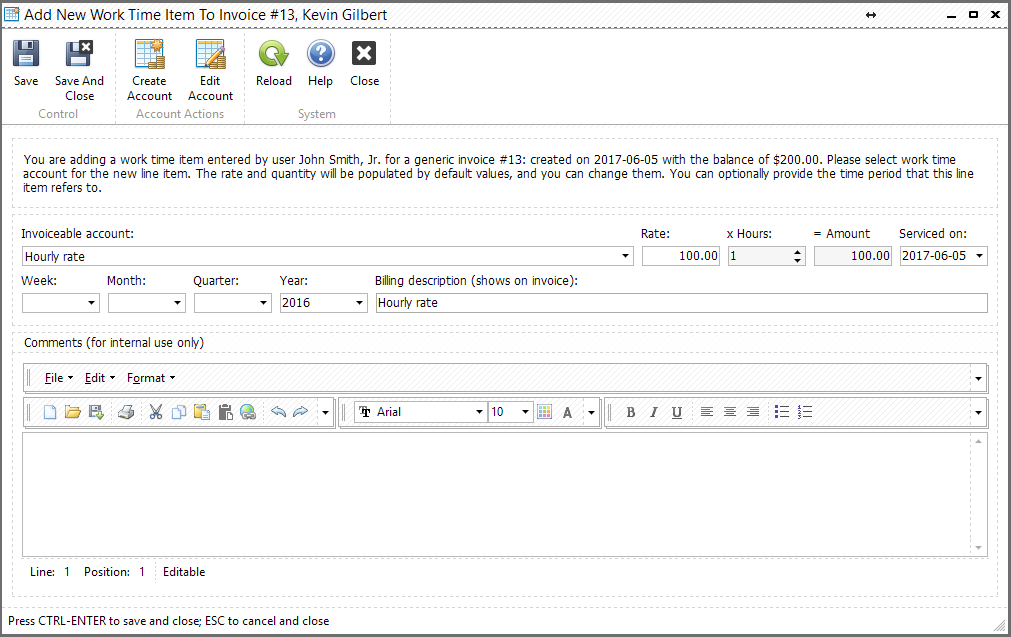
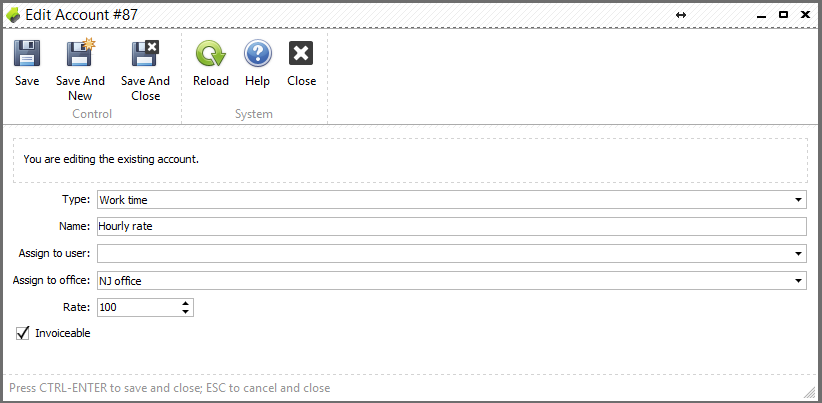
Select an invoiceable account from the drop-down list or create a new account. Also you can edit accounts from the list by clicking "Edit Account" button. Below is an example of "Edit Account" window:
Upon the work time is added to the invoice it can not be edited. You can only delete work time or edit the draft invoice where it was added to.
Work with invoices is completely described in Billing/Invoicing Module chapter.